-
-
-
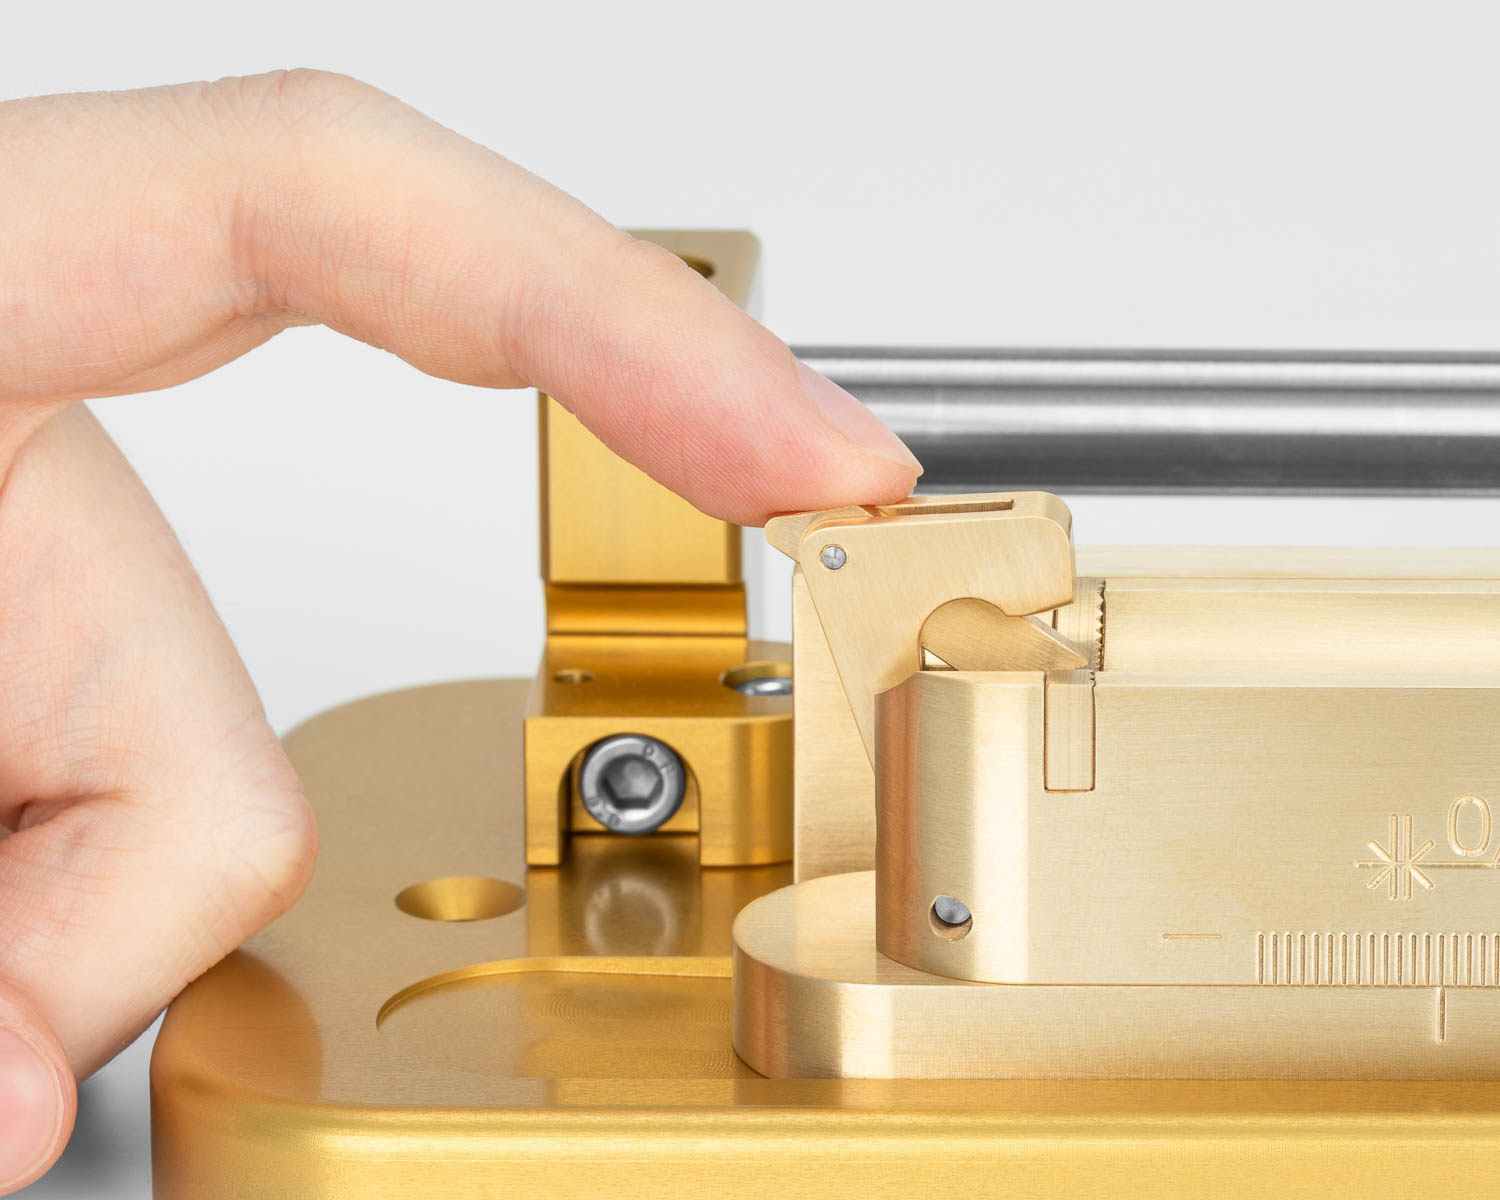
Pushing from the top outside corner of the cane holders, push the holders outwards until they lock into position outside the cane bed.
-
-
-
-
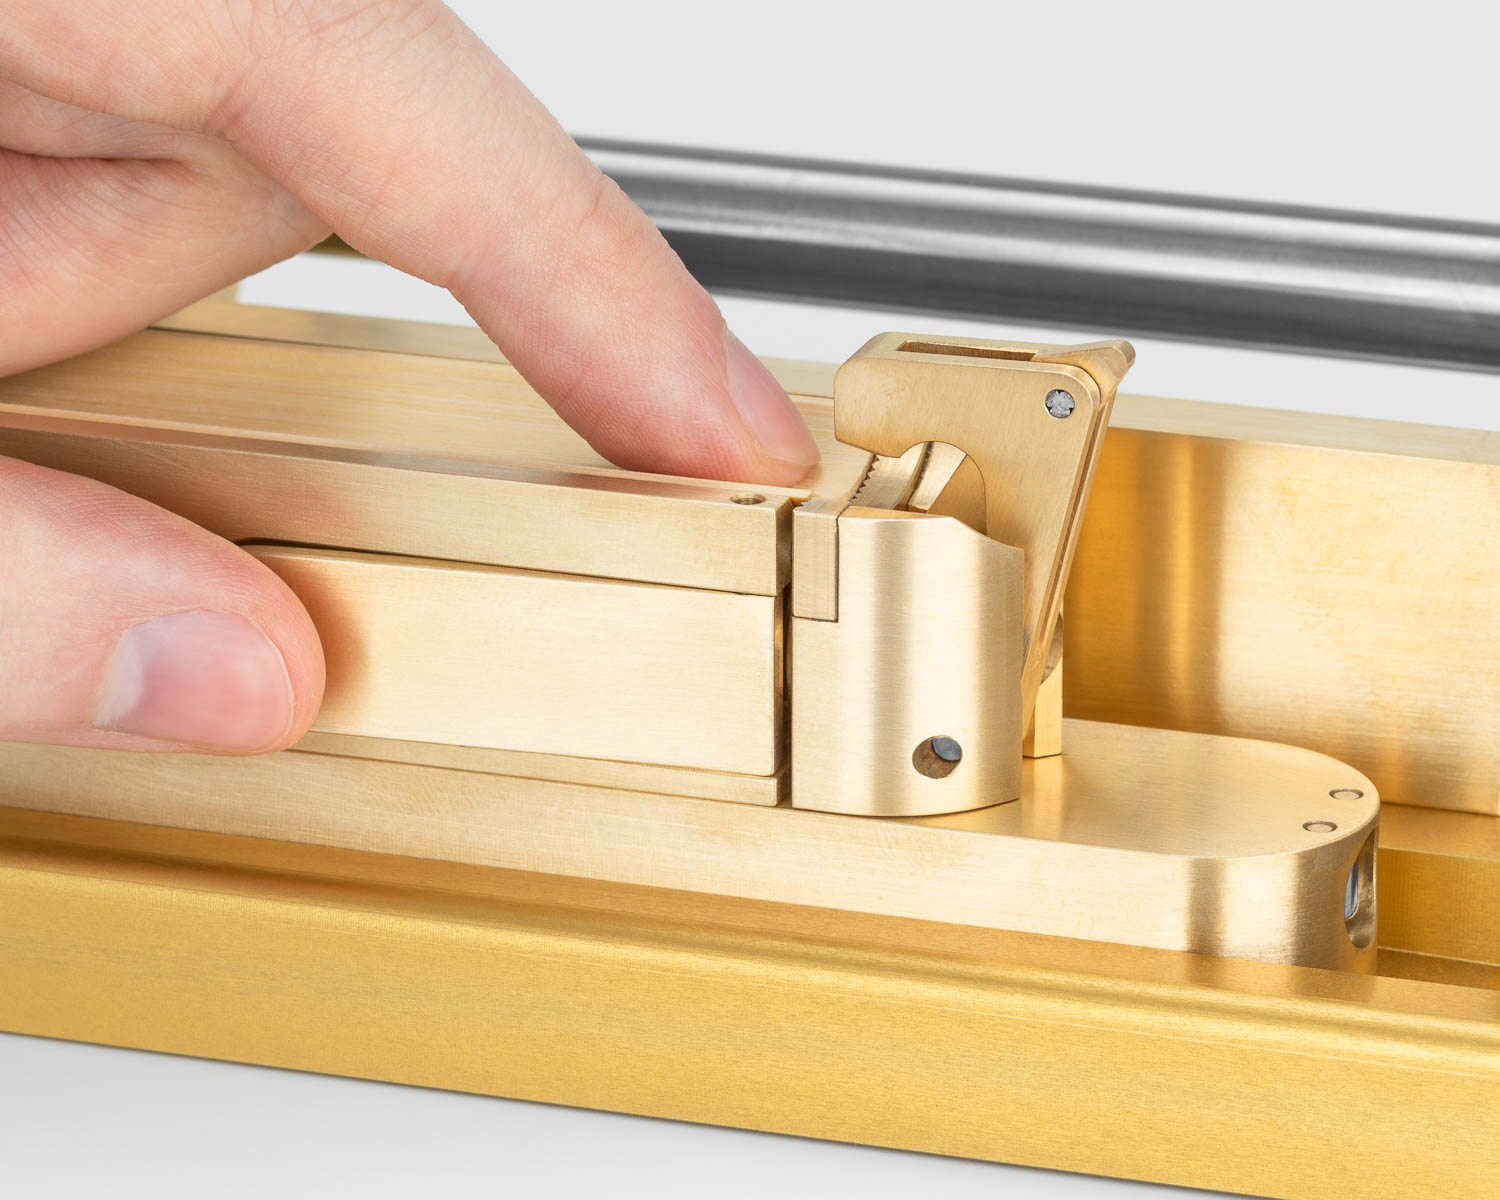
Press the lever towards the right side on the front of the cane bed; this will open the clamp. Place the cane into the cane bed, center it, and push firmly down on the cane before releasing the clamp lever.
-
-
-
-
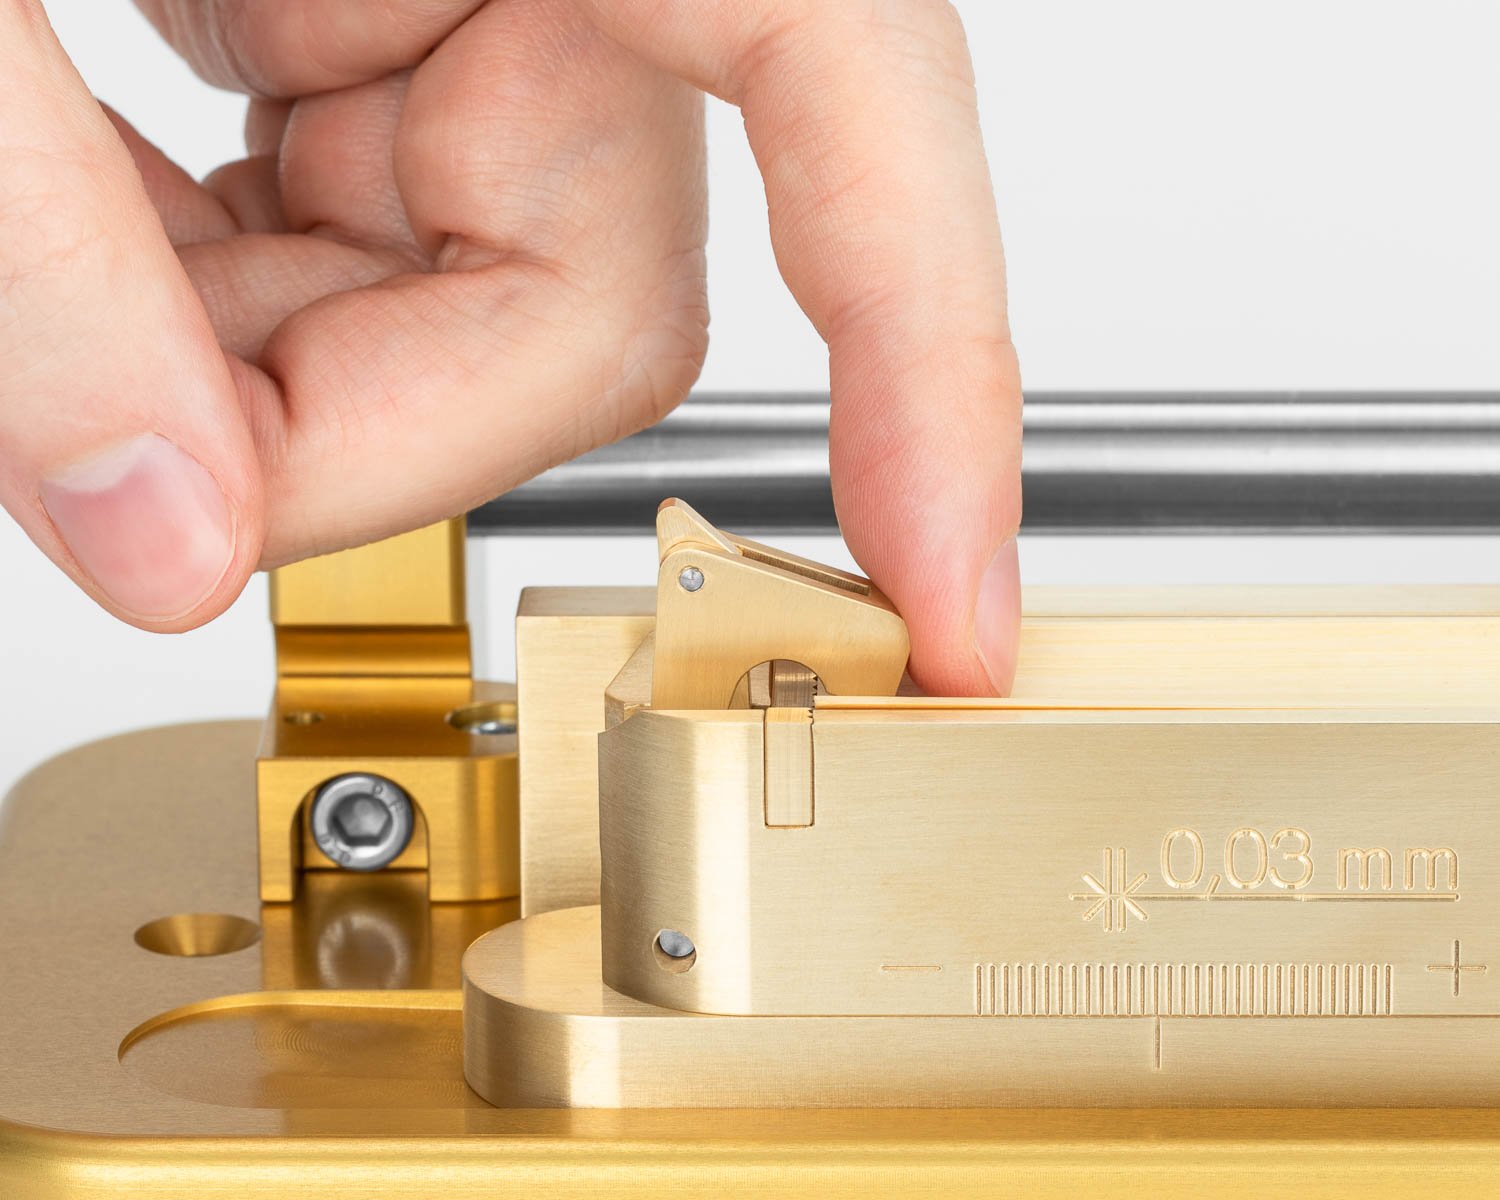
Push the cane holders outwards from the inward-facing sides so that the locking mechanisms release, and the cane holders are holding the cane down to the bed.
-
Figure Machine
pending
Figure Carriage
pending
Using the Gouging Machine
Lower the carriage to the cane between the cane holders, taking care that the blade does not come in contact with the cane holders. Draw the carriage of the gouging machine holding the blade to the far right-hand side of the gouging machine. Always begin the gouge stroke at the very end of the cane. Push the carriage all the way to the left-hand side of the gouging machine to gouge the cane. Repeat this process until no more cane is removed by the blade.
-
-
-
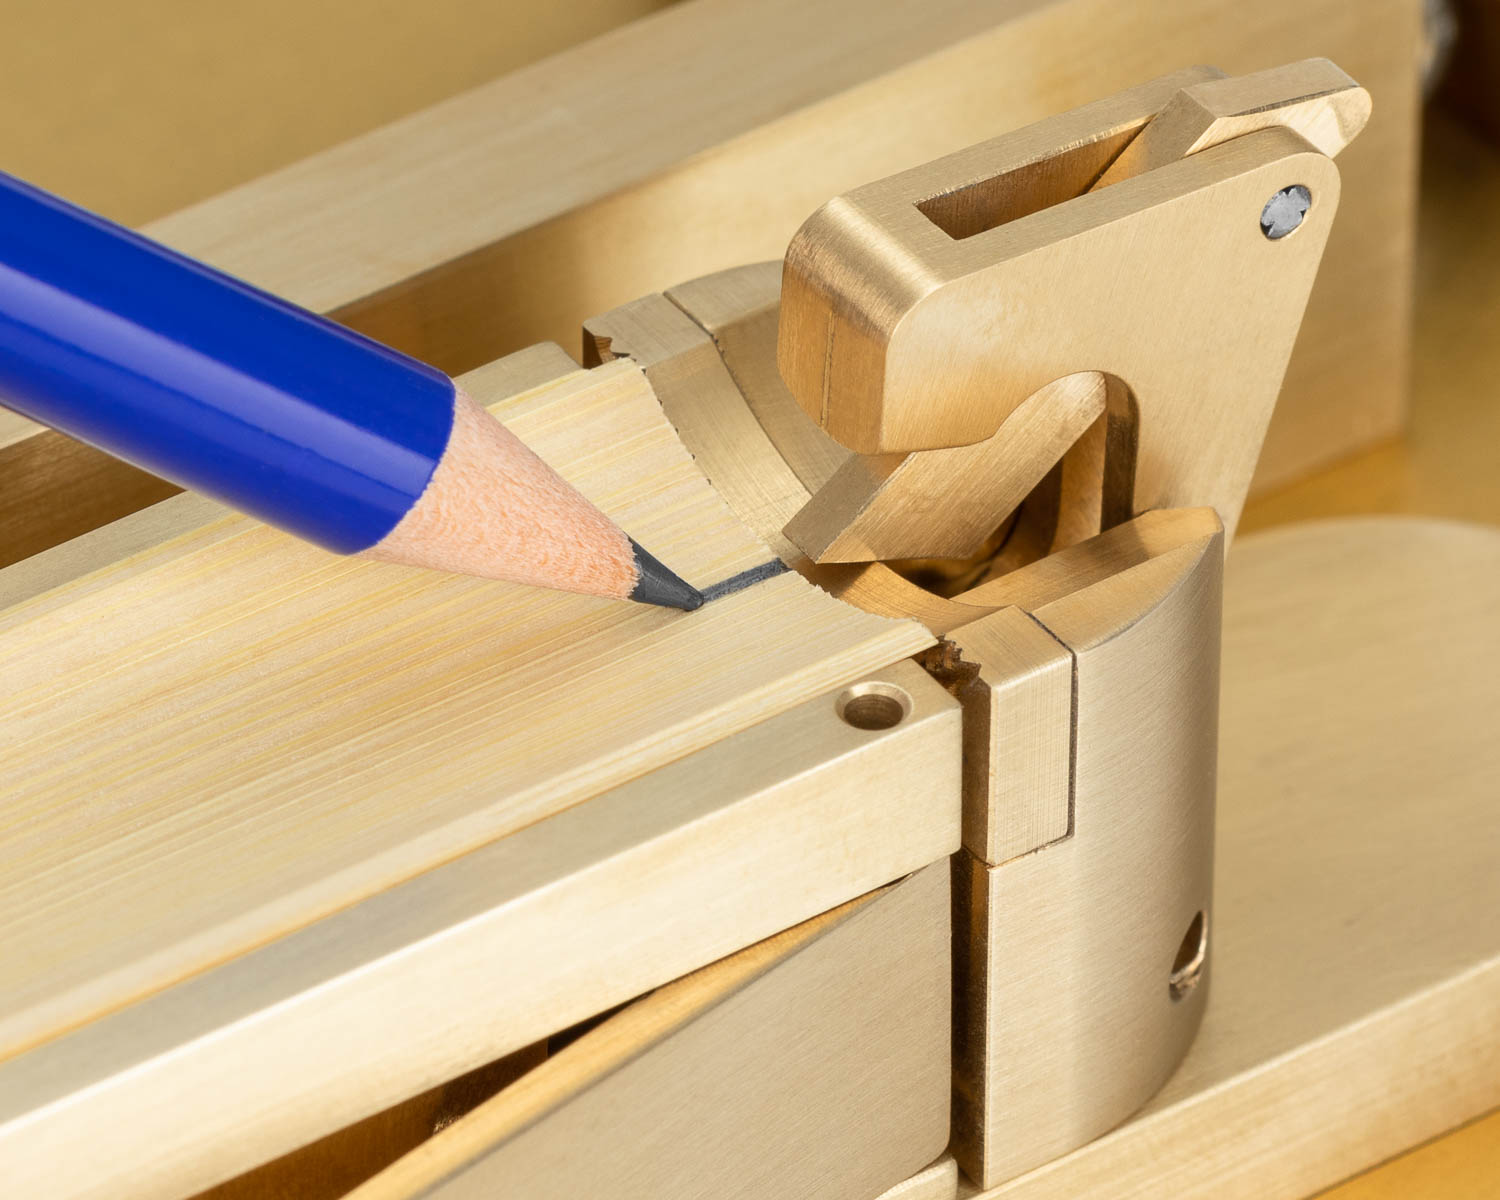
At this point we recommend marking the center of the gouge at each end of the cane with a pencil.
-
This will be helpful when aligning the cane for shaping and profiling, ensuring the reed is symmetrical throughout the entire process. The locking arms of the cane holders cane be used as a reference guide for this.
Release the cane by pushing the cane holders back into their locked position, press the lever, and remove the cane from the cane bed.
CAUTION
Take care to always push in the direction of the gouge, and not downwards. Shaving cane off layer by layer will produce more consistent results than trying to force the gouging machine to remove as much cane as possible quickly.
Adjusting the Thickness
On the right-hand side at the bottom of the cane bed there is an opening with a hex screw inside.
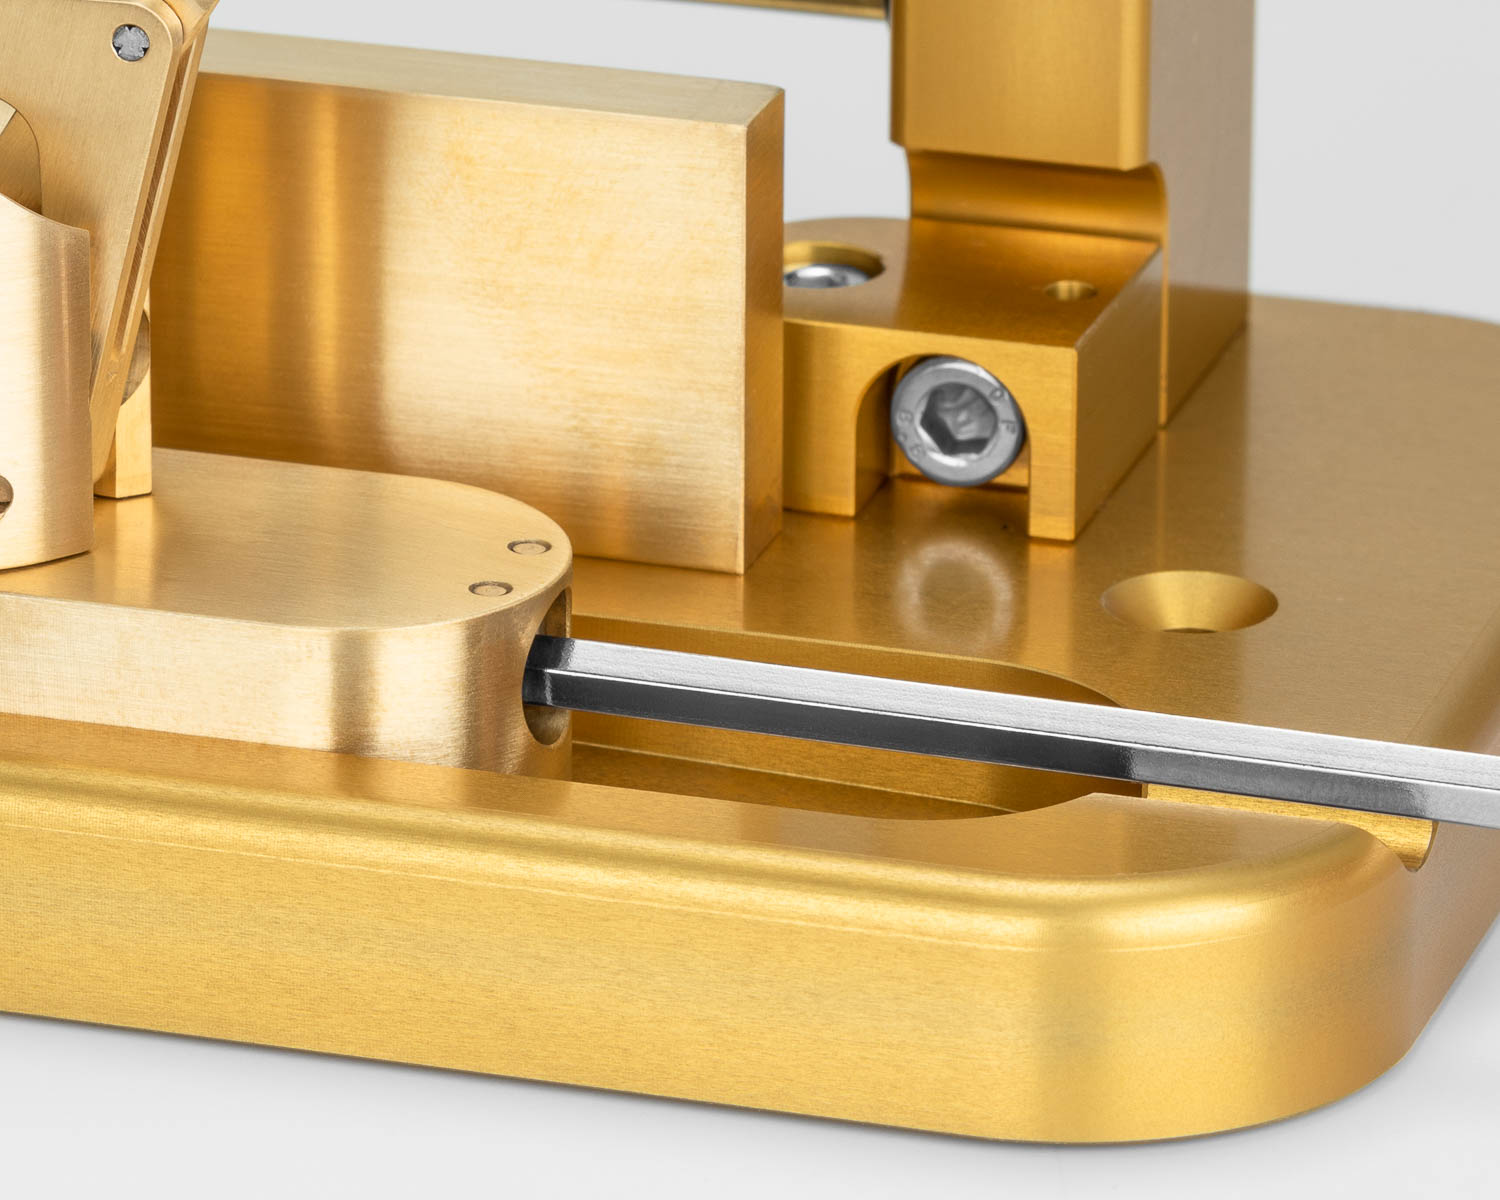
Insert the large hex key into this opening and turn as follows to adjust the thickness of the gouge:
CLOCKWISE: Thinner gouge
COUNTERCLOCKWISE: Thicker gouge
There is a thickness scale along the bottom of the cane bed. If the position marker moves towards “+” then the gouge is being set thicker. If it moves towards “-“ then the gouge is being set thinner.
Unless otherwise noted, the thickness change per line is approximately 0.03 mm.
Adjusting the Blade
To adjust thickness of the shavings, loosen the set screw on the blade just enough that the blade can move, but is still being held snugly against the carriage. Insert the small hex key into the screw at the short end of the blade and turn the screw as follows to adjust the thickness of the gouge:
CLOCKWISE: Thinner shavings
COUNTERCLOCKWISE: Thicker shavings
When the desired position has been reached, tighten the set screw for the blade.
The ideal shaving thickness is approximately 7 -10 hundredths of a millimeter. If the blade is set to take too thick shavings off, it will be harder to gouge the cane. If the blade is set to take off too little cane this will be apparent through shavings that are either fuzzy or full of holes.
Centering the Gouge
This gouger is designed to allow you to re-center the gouge should it come out of alignment for any reason. The goal is to have the gouging axle be exactly parallel with the cane bed.
Basic Adjustments
Position the blade carriage at one end of the cane bed. Loosen the top set screws on the towers holding the axle with the largest hex key. Then insert the hex key into the screw at the base of the tower on the same side of the machine as the blade carriage is placed and turn the screw as follows to adjust the positioning:
CLOCKWISE: Blade moves away from the axle = thinner gouge on the side of the cane opposite the axle.
COUNTERCLOCKWISE: Blade moves towards the axle = thinner gouge on the side of the cane
nearest the axle.
This process is the same, and needs to be repeated, at each end of the cane bed. When adjusting the position towards the right end of the bed use the adjustments screws at the right end of the machine, and vice versa.
After ensuring the blade is centered, tighten the top set screws on the towers.
CAUTION
After changing the setting – check the glide of the blade. It should not cut into the end of the bed, otherwise you will ruin the blade or the machine!!
Checking for Center
To check if the blade is centered, fully gouge a piece of cane. Before removing the cane from the bed, take a pencil and draw on the cane making sure to cover the entire surface.
-
-

-
Tip: also be sure to mark the center at each end of the cane to help align the cane later.
-
Remove the cane, rotate the same piece so the end that was on the right-hand side is now on the left-hand side and place it back onto the cane bed. Take another pass with the blade carriage.
If the pencil marks are removed only on the side closest to the axle, then the blade will need to be adjusted further away from the axle using the steps described above.
If the pencil marks are removed only on the side further away from the axle, then the blade will need to be adjusted closer to the axle using the steps described above.
If the pencil marks are not removed, or are removed evenly, then the blade is centered an no further adjustments are necessary.
Maintaining your Gouging Machine
Be sure to dry and clean the machine after use. Regularly check the blade and machine for damage, and oil the axle and blade with a small amount of oil to ensure a long life for your Reeds ‘n Stuff gouging machine.
安全上の注意
マシーンで使用される刃やまたリード製作に使われる刃は非常に鋭利で、怪我、またその他の損傷を引き起こす可能性があります。
事故を起こさないために、Reeds 'n Stuff の製品を使用する際は、マシーンの設置、使用、メンテナンスの際には、以下の安全に関する指示に従ってください:
Reeds 'n Stuff 製品は玩具ではありません。
したがって、お子様や身体的、感覚的、精神的な能力に制限のある方は使用しないでください。
Reeds 'n Stuffの製品は屋内での使用を目的としています。
